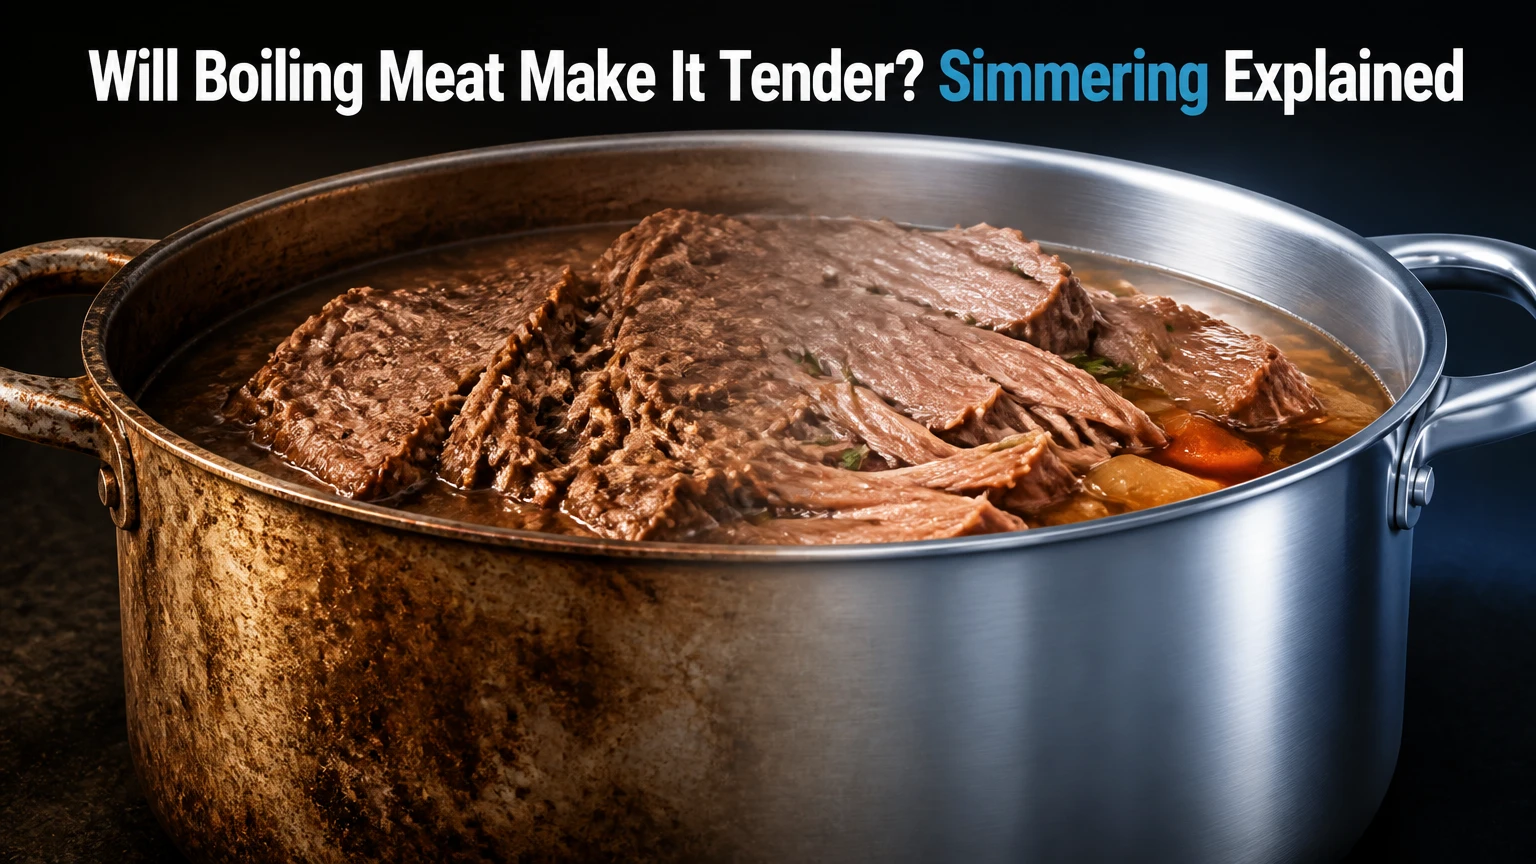
Boiling meat can make collagen-rich cuts tender, but a continuous rolling boil often makes the muscle fibers firm, dry, and stringy. Tender results come from gentle simmering at roughly 180-200°F (82-93°C) for enough time to convert connective-tissue collagen into gelatin without aggressively squeezing out moisture.
Key Facts at a Glance
- A rolling boil reaches about 212°F (100°C) at sea level and can toughen lean muscle fibers.
- A gentle simmer usually keeps cooking liquid between 180°F and 200°F (82°C and 93°C).
- Collagen-rich cuts such as beef chuck, brisket, shank, and shoulder need extended moist heat.
- Tenderness depends on cut structure, internal temperature, time, and slicing direction.
- Lean cuts such as beef tenderloin and chicken breast usually become dry before connective tissue improves.
- USDA guidance says, “Cook beef, pork, veal, and lamb steaks, chops, and roasts to 145°F,” followed by a three-minute rest; poultry should reach 165°F.
Will Boiling Meat Make It Tender?
Boiling meat makes tough, collagen-rich cuts tender only when the liquid is held at a gentle simmer and the meat cooks long enough for connective tissue to soften. Boiling lean meat rapidly does the opposite: muscle proteins contract, moisture escapes, and the finished meat becomes firm or dry.
The word “boiling” causes the confusion. In everyday cooking, people often call any meat cooked in water boiled meat. Culinary technique distinguishes a rolling boil, with large constant bubbles, from a simmer, with small bubbles and restrained movement. That difference changes the texture.
A beef chuck cube may need two to three hours in a covered pot before it becomes fork-tender. A chicken breast may become fully cooked in 15-25 minutes yet turn stringy if held in bubbling liquid much longer. The cut determines whether extended cooking helps or harms.
What Does Tenderness Mean in Meat?
Tenderness has two separate components: the ease with which muscle fibers separate and the amount of connective tissue a diner must chew. A steak with little collagen can be tender quickly, while a hard-working shoulder contains collagen that requires prolonged heat to soften.
Gelatin can create a rich, lubricating mouthfeel, but gelatin does not restore water already lost from overcooked muscle. A braise can therefore be tender and succulent in texture while containing less original meat moisture than a quickly cooked lean cut.
Why Does a Hard Boil Make Meat Tough?
A hard boil toughens meat because high heat rapidly denatures and contracts muscle proteins, squeezing out water before connective tissue has time to dissolve. Violent bubbling also breaks apart delicate surfaces, clouds cooking liquid with proteins, and increases evaporation from an uncovered pot.
Muscle proteins begin changing well below the boiling point. Around 140-160°F (60-71°C), proteins contract progressively, with the exact texture affected by species, pH, cut thickness, and cooking duration. The meat’s interior does not instantly match the pot’s temperature, so a brief boil is less damaging than a prolonged one.
The practical rule is simple: use boiling water to heat the pot, then reduce the burner until the liquid barely simmers. The meat should move gently, not bounce around. A lid reduces evaporation and helps maintain an even cooking environment.
Simmer Versus Rolling Boil
| Cooking condition | Liquid temperature | Bubble pattern | Typical meat result |
|---|---|---|---|
| Rolling boil | 212°F / 100°C | Large, continuous bubbles | Firm fibers, rapid moisture loss |
| Strong simmer | 195-205°F / 91-96°C | Frequent medium bubbles | Faster cooking, higher drying risk |
| Gentle simmer | 180-195°F / 82-91°C | Small bubbles at edges | Controlled braising texture |
| Bare simmer | 170-185°F / 77-85°C | Occasional bubbles | Slow softening, delicate surfaces |
A gentle simmer is not a fixed temperature in every kitchen. Altitude lowers water’s boiling point, and a crowded pot can reduce the liquid temperature temporarily. Visual movement plus an instant-read thermometer gives better control than burner numbers.
How Does Simmering Tenderize Tough Meat?
Simmering tenderizes tough meat by holding collagen-rich connective tissue in a moist, moderately hot environment long enough for collagen strands to unwind and dissolve into gelatin. Muscle fibers still lose some moisture, but the resulting gelatin softens the connective framework and improves mouthfeel.
Collagen breakdown is time-dependent rather than instantaneous. A beef shank can remain resistant after 90 minutes, then become noticeably softer during the next hour. The transition depends on collagen concentration, animal age, cut size, acidity, salt level, and the temperature maintained in the pot.
The meat is ready when a fork or thin skewer enters with little resistance. A target internal temperature alone cannot identify tenderness because two pieces at the same temperature can have very different connective-tissue structures.
Why Does Meat Become Tough Before It Becomes Tender?
Tough meat often passes through an intermediate firm stage because muscle proteins contract before collagen has dissolved sufficiently. Removing a collagen-rich roast at that point produces a disappointing result, while another 30-90 minutes of gentle cooking may change the texture dramatically.
This rule applies to beef chuck, brisket, shank, and lamb shoulder more reliably than to lean steak or breast meat. Longer cooking helps only when connective tissue is the reason the cut is tough. Extra time cannot rescue meat that has already lost most of its moisture.
Temperature, Time, and Cut Size
| Cut or preparation | Recommended liquid condition | Typical cooking time | Tenderness checkpoint |
|---|---|---|---|
| Beef chuck, 1.5-inch cubes | 185-195°F / 85-91°C | 2-3 hours | Fork enters with slight resistance |
| Beef shank, 2-3-inch pieces | 185-195°F / 85-91°C | 2.5-4 hours | Meat pulls from the bone |
| Lamb shoulder, 2-inch cubes | 180-195°F / 82-91°C | 2-3 hours | Fibers separate easily |
| Chicken thighs, bone-in | 175-190°F / 79-88°C | 45-75 minutes | Thickest portion reaches 165°F |
| Chicken breast, boneless | 165-180°F / 74-82°C | 15-30 minutes | Thickest portion reaches 165°F |
| Beef tenderloin pieces | 160-175°F / 71-79°C | 20-40 minutes | Cooked to desired doneness, not collagen tenderness |
These are typical home-kitchen ranges, not guarantees. A large intact roast takes longer than small cubes because heat and collagen conversion must reach the center.
Which Cuts Become Tender in Liquid?
Beef chuck, brisket, shank, short ribs, lamb shank, lamb shoulder, and other heavily exercised muscles respond best to long, gentle cooking in liquid. These cuts contain collagen, connective membranes, and enough fat to remain palatable during extended cooking.
Lean cuts are a poor match for prolonged boiling. Beef eye of round, top round, tenderloin, chicken breast, and very lean game can become dry or crumbly before connective tissue contributes useful gelatin.
| Cut | Main structural feature | Best liquid method | Typical home time |
|---|---|---|---|
| Beef chuck | High collagen, moderate fat | Covered braise or stew | 2-4 hours |
| Beef brisket | Dense fibers, substantial collagen | Low braise | 3-5 hours |
| Beef shank | Very high connective tissue | Simmer with bone | 3-4 hours |
| Lamb shoulder | Collagen and intramuscular fat | Covered braise | 2.5-4 hours |
| Chicken thighs | Dark meat, moderate connective tissue | Gentle poach or stew | 45-75 minutes |
| Chicken breast | Lean, low collagen | Gentle poach | 15-30 minutes |
Can You Boil Chicken to Make It Tender?
You can gently poach chicken thighs until tender, but a rolling boil rarely improves chicken breast. Chicken thighs contain more connective tissue and tolerate longer moist cooking, whereas breast meat reaches a safe temperature quickly and dries with prolonged heat.
For chicken breast, keep the liquid below a full boil and check the thickest portion with a thermometer. Remove the meat at 165°F (74°C), or use an approved lower-temperature process with adequate holding time and reliable temperature control.
What Is the Best Liquid Method for Tender Meat?
Braising is the most dependable liquid method for a large cut, while stewing works best for smaller pieces and pressure cooking reduces the time required. Both methods need collagen-rich meat, controlled heat, a covered vessel, and a doneness test based on texture.
Braising partially covers meat with liquid. Stewing generally submerges bite-sized pieces. The reduced exposed surface in a braise protects a roast from excessive water loss, while a stew distributes heat quickly through smaller pieces.
Braising and Stewing Compared
| Method | Meat coverage | Cooking temperature | Typical time | Best use |
|---|---|---|---|---|
| Braising | One-third to one-half covered | 275-325°F oven | 2-5 hours | Chuck roast, brisket, shank |
| Stewing | Nearly submerged | 180-195°F liquid | 1.5-3.5 hours | Cubed beef or lamb |
| Gentle poaching | Fully covered | 160-185°F liquid | 15-75 minutes | Chicken breast, fish, tender cuts |
| Pressure cooking | Liquid plus steam | About 240-250°F / 115-121°C chamber | 30-90 minutes | Dense collagen-rich cuts |
A covered Dutch oven in a 300°F (149°C) oven often gives steadier heat than a stovetop pot because the surrounding air warms the vessel evenly. The liquid should simmer quietly rather than boil aggressively.
How Do You Simmer Meat for Tender Results?
To simmer meat successfully, brown the exterior, add measured liquid, cover the pot, maintain a gentle simmer, and cook until a fork meets little resistance. For 2-3 pounds of beef chuck, use about 2-3 cups of stock or water in a heavy covered pot and allow 2.5-4 hours.
- Prepare the meat. Cut a roast into 1.5-2-inch pieces for stew, or leave it whole for a braise. Pat the surface dry and season with salt.
- Brown the surface. Heat 1-2 tablespoons of cooking oil in a heavy pot and brown batches without crowding. Browning adds flavor but does not tenderize the interior.
- Add aromatics and liquid. Add vegetables and enough unsalted stock or water to reach one-third to one-half the height of a whole cut.
- Bring the liquid up, then lower the heat. Wait for a boil, immediately reduce the heat, and aim for 180-195°F (82-91°C).
- Cover and cook. Check after 90 minutes for cubes or two hours for a larger roast. Turn a whole cut once if the liquid does not circulate evenly.
- Test texture. Insert a fork into the thickest section. Continue cooking in 20-30-minute increments if it still resists.
- Rest in the cooking liquid. Rest the meat for 15-20 minutes before slicing or serving. Slice across the grain.
The strongest practical checkpoint is resistance, not the clock. If the meat is safe but tough, the correct response for a collagen-rich cut is usually more gentle cooking, not a higher burner setting.
What Quantity of Liquid Should You Use?
Use enough liquid to create steam and prevent scorching, but do not automatically submerge a large roast. A whole braising cut usually needs liquid one-third to one-half of its height, while stew cubes need liquid nearly to their top surface.
| Pot size and meat amount | Liquid starting amount | Covered cooking time | Typical added-liquid need |
|---|---|---|---|
| 3-quart pot, 1.5 lb cubes | 2 cups | 1.5-2.5 hours | 0-0.5 cup |
| 5-quart pot, 2.5 lb roast | 2.5-3 cups | 2.5-4 hours | 0-1 cup |
| 7-quart pot, 4 lb brisket | 4-5 cups | 3.5-5 hours | 0-1 cup |
| Pressure cooker, 2 lb cubes | 1.5-2 cups | 35-60 minutes | Follow appliance minimum |
The exact minimum for a pressure cooker depends on its manufacturer and model. Never fill beyond the marked capacity, and follow the appliance instructions for release and liquid volume.
Is Pressure Cooking Better Than Boiling?
Pressure cooking is faster than stovetop simmering for collagen-rich cuts because trapped steam raises the cooking temperature to roughly 240-250°F (115-121°C). Pressure cooking can tenderize beef chuck in about 35-60 minutes at pressure, but lean meat can still dry out.
| Method | Typical equipment cost | Time for 2 lb chuck | Flavor development | Main risk |
|---|---|---|---|---|
| Stovetop simmer | $25-$150 pot | 2.5-4 hours | Strong reduction potential | Hard boiling |
| Dutch oven braise | $60-$350 vessel | 3-4.5 hours | Excellent browning and sauce | Liquid evaporation |
| Electric pressure cooker | $50-$200 appliance | 35-60 minutes at pressure | Moderate, less reduction | Overcooking lean pieces |
| Slow cooker | $30-$150 appliance | 6-9 hours on low | Gentle, limited browning | Watery sauce |
Pressure cooking is the practical choice when dinner time is limited. Natural pressure release often gives collagen-rich meat a softer texture than an immediate release because temperature and steam decline gradually.
Does Sous Vide Tenderize Meat Without Drying It?
Sous vide can tenderize meat with precise temperature control, but it does not eliminate muscle contraction. Long cooking at a moderate temperature softens collagen while limiting the temperature gradient between the exterior and center.
A beef chuck cut cooked sous vide at 155°F (68°C) for 24-36 hours can develop a sliceable, tender texture, while a hotter braise produces softer, shreddable meat. The method requires a validated food-safety process, a reliable circulator, and rapid chilling if the meat is stored.
Sous vide is less suitable when the desired result is a deeply reduced sauce because the sealed bag prevents evaporation. A final sear can add surface browning, but it cannot replicate every flavor produced during an open-pot braise.
What Mistakes Make Simmered Meat Tough?
The most common causes are a hard boil, an unsuitable lean cut, insufficient cooking time, excessive cooking time for the cut, and slicing with the grain. Each failure has a different fix, so simply adding heat can make the result worse.
- The liquid is violently bubbling: Lower the heat until only small bubbles appear near the edge. Replace evaporated liquid with hot stock or water.
- The meat is tough after one hour: Continue gently cooking if the cut is chuck, shank, brisket, or shoulder. Collagen conversion may not be far enough along.
- The meat is dry and crumbly: Stop cooking if the cut is lean or already overdone. Add sauce or cooking liquid, then slice thinly across the grain.
- The pot is uncovered: Add the lid and check liquid every 30-45 minutes. A wide uncovered pot can lose substantial liquid during a long simmer.
- The pieces are different sizes: Remove small pieces when tender and continue cooking larger pieces. Uniform 1.5-2-inch cubes cook more evenly.
- The meat tastes bland: Season the liquid in stages and reduce the finished sauce separately. Flavor in the liquid does not guarantee flavor inside a large roast.
A practitioner rule of thumb is to diagnose texture before changing temperature. Firm, springy collagen-rich meat usually needs time; dry, shredding lean meat needs less heat and shorter cooking in the future.
How Should You Cool and Store Simmered Meat?
Cool cooked meat in shallow containers and refrigerate it within two hours, or within one hour when the surrounding temperature exceeds 90°F (32°C). Large hot roasts cool too slowly in a deep pot, so divide them into smaller portions before refrigeration.
The USDA recommends refrigerating leftovers at 40°F (4°C) or below and using most cooked leftovers within three to four days. Reheat sauces and meat thoroughly, adding a little stock or water to reduce surface drying.
What Does the USDA Say About Safe Temperatures?
USDA Food Safety and Inspection Service guidance specifies 145°F (63°C) with a three-minute rest for beef, lamb, and similar whole cuts, and 165°F (74°C) for poultry. Tenderness and safety are separate measurements: a roast can reach a safe temperature while remaining tough from intact collagen.
A thermometer verifies safety, while a fork test verifies collagen breakdown. Use both for large braised cuts, especially when serving children, older adults, or people with weakened immune systems.
Which Method Should You Choose?
Choose a gentle braise for maximum sauce and traditional soft texture, pressure cooking for speed, and precise poaching for lean meat. Rolling boiling is useful for rapidly bringing liquid to temperature, but it should not be the sustained cooking method for most meat.
| Situation | Best method | Cut example | Typical total time | Why it fits |
|---|---|---|---|---|
| Weekend meal | Dutch oven braise | Beef chuck roast | 3-5 hours | Browning and sauce reduction |
| Weeknight deadline | Pressure cooking | Beef chuck cubes | 60-90 minutes | Faster collagen conversion |
| Lean poultry | Gentle poaching | Chicken breast | 20-35 minutes | Limits moisture loss |
| Shredded texture | Covered stew | Beef brisket pieces | 3-4 hours | Extended connective-tissue breakdown |
| Sliceable texture | Sous vide | Beef chuck or brisket | 18-36 hours | Precise, even cooking |
The honest limitation is that no method makes every cut tender. A gentle simmer cannot turn a thin lean steak into a braised roast, and pressure cooking cannot reverse moisture lost from an already overcooked breast.
FAQ
Can I Boil Frozen Meat Until Tender?
Frozen meat can be cooked safely in a simmering liquid, but it takes longer and cooks less evenly than thawed meat. Separate pieces as soon as possible, maintain a gentle simmer, and verify the thickest portion with a thermometer. A frozen large roast is better thawed safely in the refrigerator before braising.
Does Adding Salt Make Simmered Meat Tender?
Salt improves seasoning and can influence moisture retention when applied early, but salt alone does not dissolve tough collagen. Seasoning a large cut several hours ahead can improve internal flavor, while the actual tenderizing process still requires controlled heat and sufficient time.
Does Vinegar Tenderize Meat During Boiling?
A small amount of acidic liquid can brighten a braise and alter surface proteins, but vinegar does not replace the time needed to convert collagen into gelatin. Excess acid can make the exterior mushy while the center remains tough, so use acidity for flavor rather than as a shortcut.
Why Is My Stew Meat Still Tough After Three Hours?
Stew meat may remain tough after three hours because the pieces are large, the liquid is below a useful simmer, the cut contains unusually dense collagen, or the meat has already dried from excessive heat. Check the pot temperature, cover it, and continue in 20-30-minute intervals if the fibers remain firm.
Should I Slice Meat Before or After Simmering?
Slice meat before simmering when making stew, because small uniform pieces cook faster and expose connective tissue to the liquid. Leave a roast whole for braising, then rest it and slice across the grain after cooking. Cutting across the grain shortens the muscle fibers and makes each bite easier to chew.
The Bottom Line
Will boiling meat make it tender? A rolling boil usually does not. Gentle simmering, braising, stewing, pressure cooking, or controlled sous vide cooking can tenderize collagen-rich cuts when temperature, liquid, and time match the meat’s structure. Use lean meat quickly, use tough meat slowly, and judge the finished texture with a fork rather than a clock alone.